On macOS, containers run in a VM. The host can’t reach those VM-only networks by default. We add a fast WireGuard route to the cluster’s LoadBalancer range, allowing your browser to reach services.
Here’s the quickest path to a working local cluster.
Prerequisites
- macOS 12+ on Apple Silicon or Intel
- 4 CPU cores (8 recommended), 8 GB RAM free for containers
- One of:
- Docker Desktop (simple onboarding)
- Podman (open source, requires a VM via podman machine)
- WireGuard (GUI app or wg-quick CLI)
Install WireGuard
Pick either the GUI or CLI.
- GUI: Install “WireGuard” from the Mac App Store or https://www.wireguard.com/install/
- CLI (wg-quick): If you use Homebrew:
brew install wireguard-tools
You only need one. The GUI is easier, while the CLI is more flexible for scripting and is therefore more well-tested.
Choose Your Container Runtime
We currently support Docker Desktop and Podman on macOS.
Option A: Docker Desktop

- Install Docker Desktop from https://www.docker.com/products/docker-desktop/
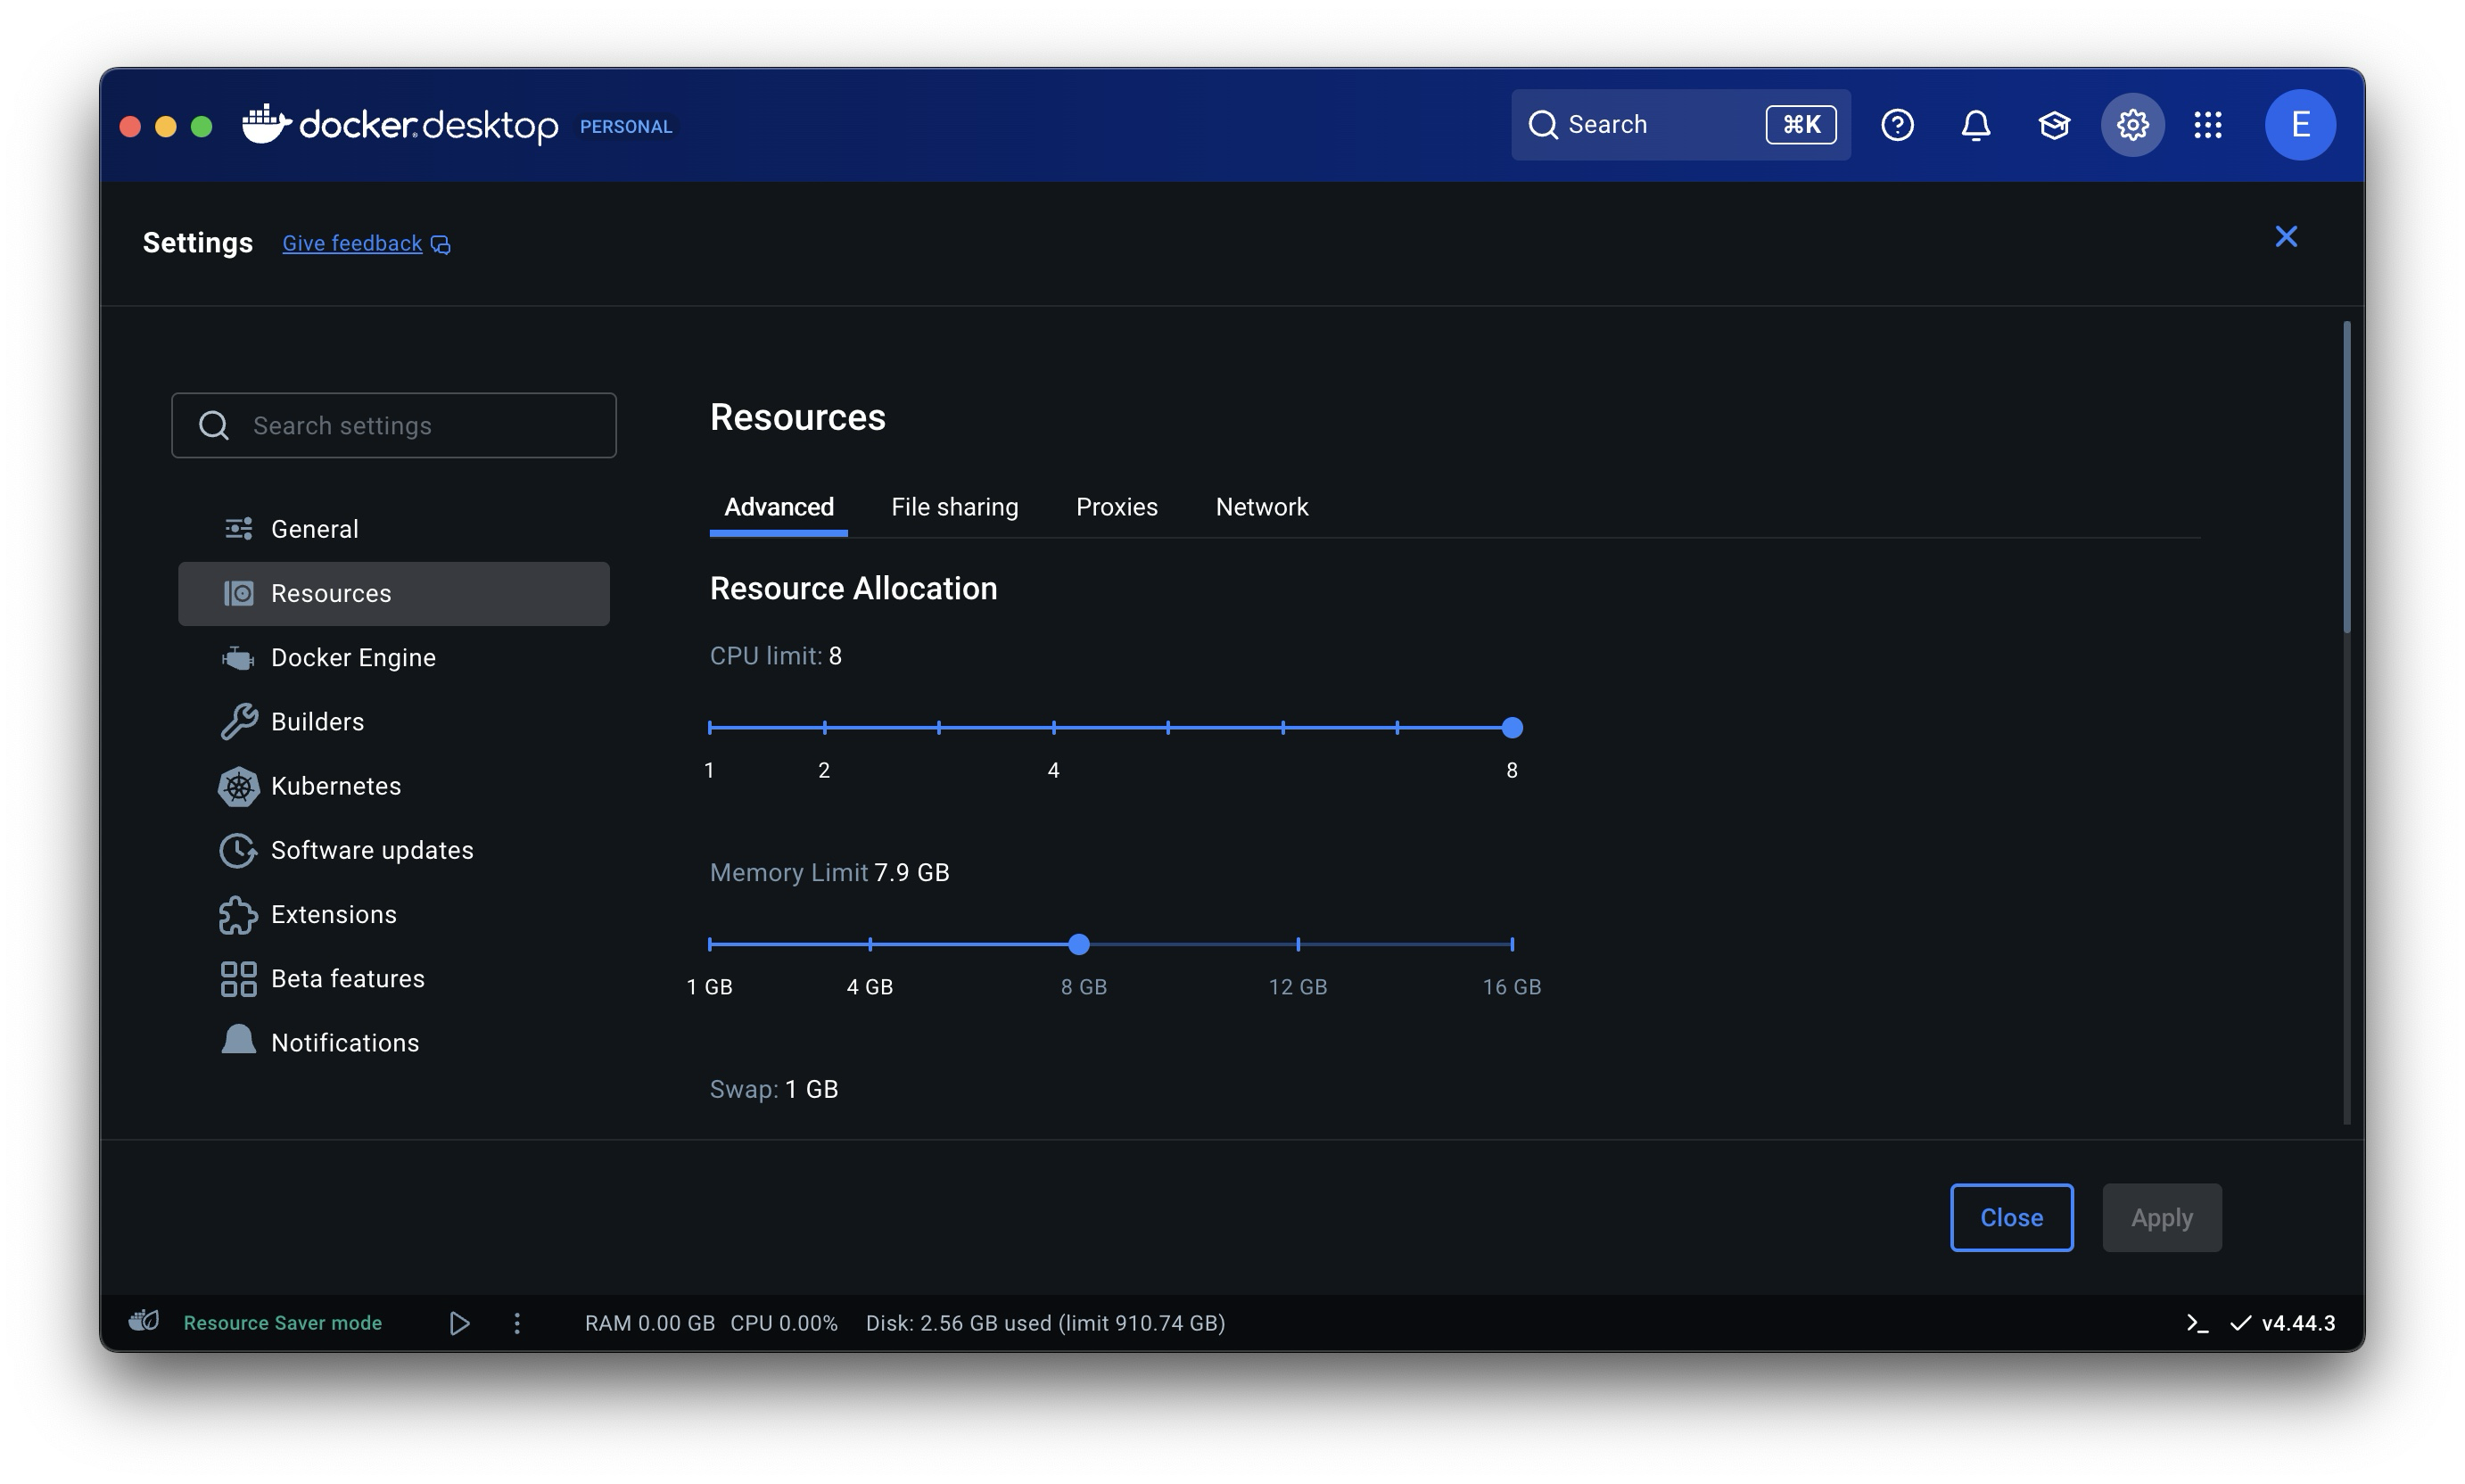
- Open Docker Desktop → Settings → Resources.
- Allocate at least 6 GB RAM (more is better). Apply & restart if prompted.
During the next step while starting the local installation you might get some messages asking if docker can share your files. Make sure to allow it as that’s how we mount files into the container.
Option B: Podman
Verify Podman is installed: podman --help
Create and start a VM with enough resources in one go:
podman machine init --cpus 8 --disk-size 300 -m 8000 --rootful && podman machine startTip: 8 CPUs and 8 GB RAM are a solid baseline.
Install and Start Batteries Included
Run the quick-start script for an easy setup of a Kubernetes development environment.
/bin/bash -c "$(curl -fsSL https://home.batteriesincl.com/api/v1/scripts/start_local)"It will:
- Install
bito~/.local/shareand links~/.local/bin/biif needed - Start a Kind-based Kubernetes cluster in your chosen runtime
- Install Batteries Included components and Control Server, providing a complete development environment
- Prepare WireGuard routing to the cluster LoadBalancer IP range
- Print your installation name and the Control Server URL
After the first run
After running the start_local script, the bi will be present on your machine so you can use it directly (assuming ~/.local/bin is in your PATH):
bi start-localWireGuard: Get and start the tunnel
The last step is to start the WireGuard tunnel, allowing your Mac to reach services exposed by LoadBalancer IPs.
Generate a WireGuard config for your installation (replace the placeholder):
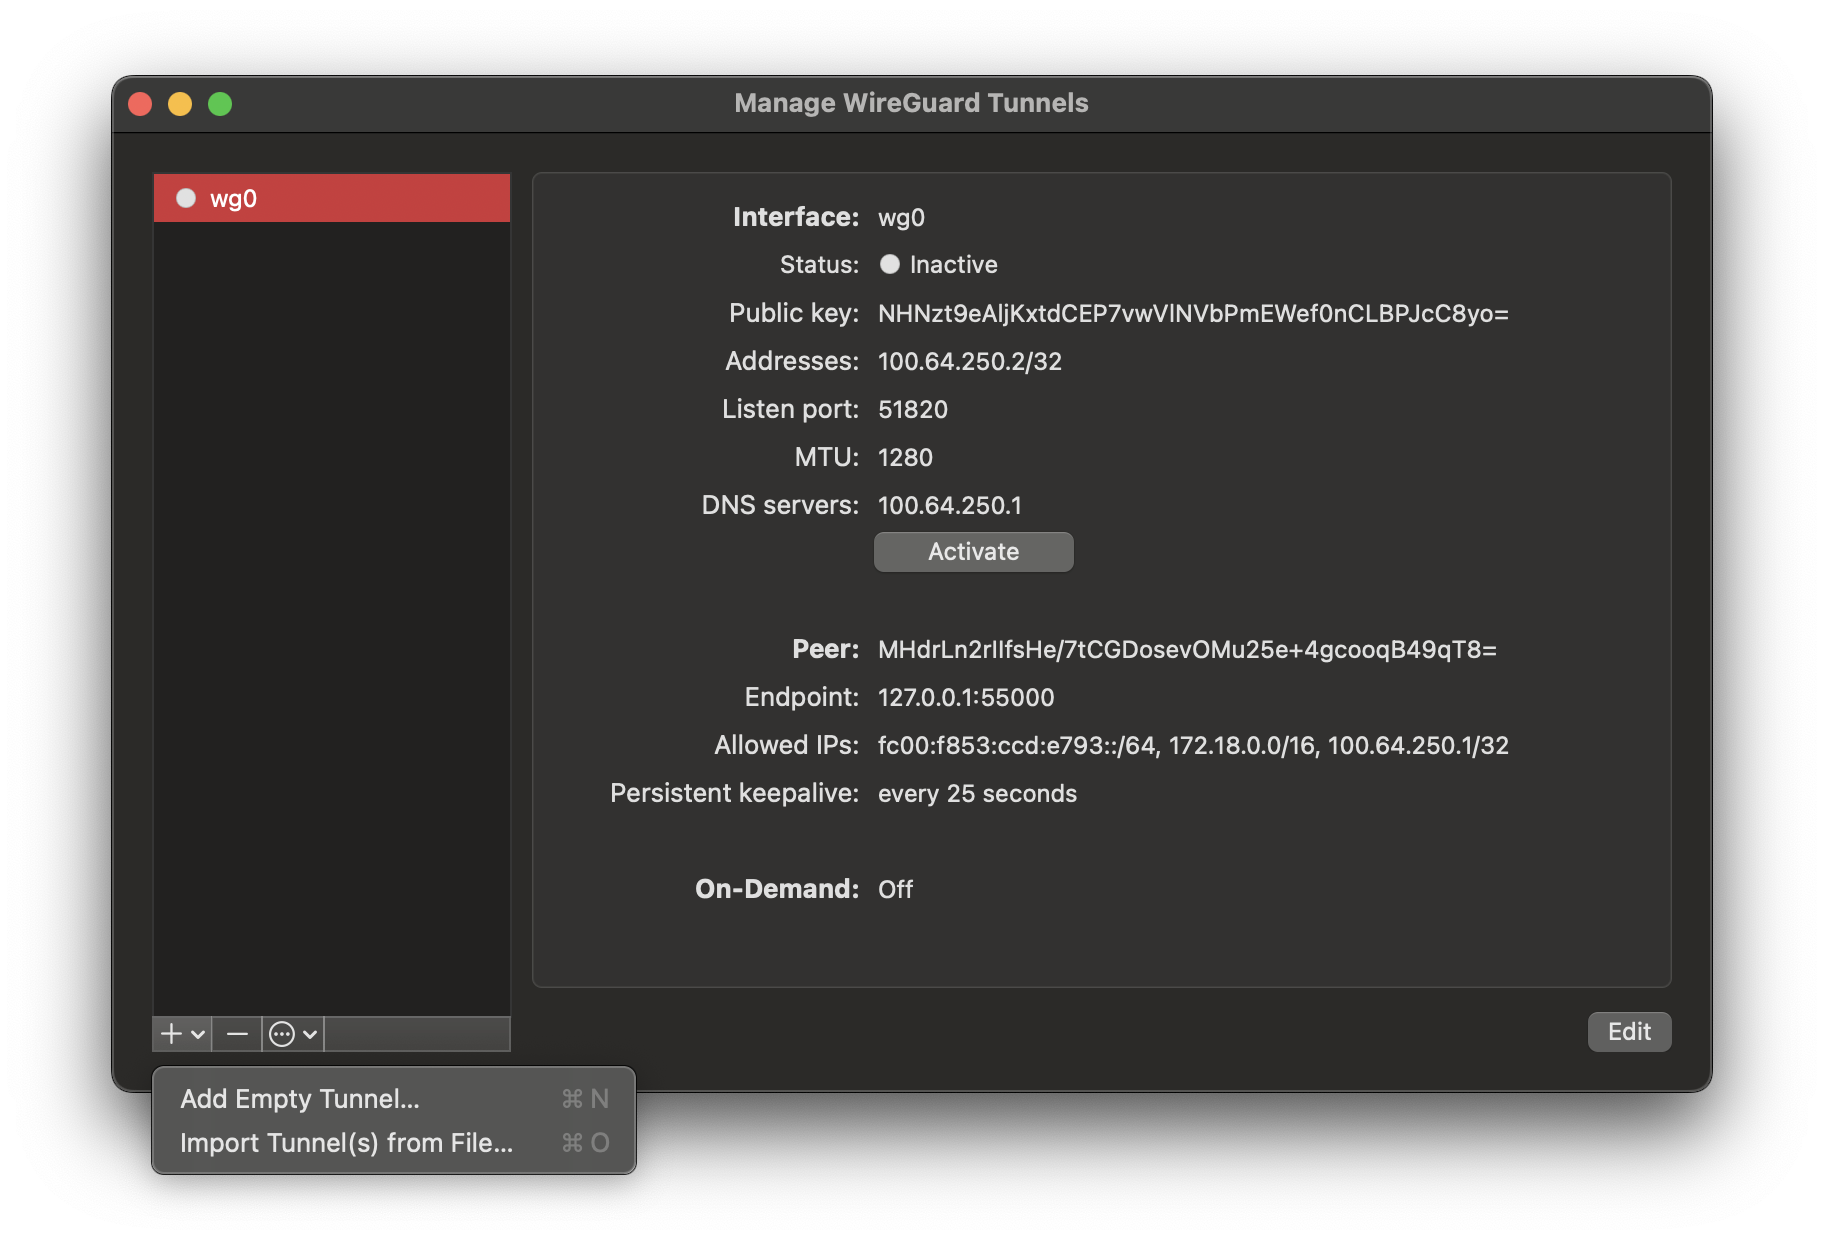
bi vpn config -o wg0.conf <installation-name>GUI: import
wg0.confand toggle it on (activate it).

CLI: sudo wg-quick up ./wg0.conf (down: sudo wg-quick down ./wg0.conf).
When the tunnel is active, the Control Server UI and all cluster services are reachable from your browser.
Verify access
- Open the Control Server URL printed by the installer.
- You should see the dashboard. From there, you can browse batteries, create projects, and deploy services. Start exploring!
Notes on macOS networking
- On macOS, Docker Desktop and Podman run inside a VM. The host (your Mac) does not have automatic routes into container subnets.
- We route only the Kubernetes LoadBalancer CIDR via WireGuard. It’s fast, secure, and easy to toggle.
Troubleshooting
- WireGuard won’t connect:
- Re-generate the config:
bi vpn config -o wg0.conf <installation-name> - Ensure no other VPN is active.
- If CLI: try
sudo wg-quick down ./wg0.confthensudo wg-quick up ./wg0.conf.
- Re-generate the config:
- Can’t reach the Control Server URL:
- Confirm the WireGuard tunnel is on.
- Check that Docker Desktop or Podman is running.
- Re-run:
bi start-local.
- Resource limits:
- If services get OOM-killed or pull slowly, increase CPU/RAM in Docker Desktop or recreate your Podman machine with more memory/CPUs.
What’s Next
- Explore the platform from the Control Server UI.
- Add batteries like databases, monitoring, Jupyter, or Ollama.
- For NVIDIA GPUs, see: Local NVIDIA AI Acceleration
- For a broader overview, see: Getting Started and How it works
This is the most effortless Kubernetes onboarding on macOS. Everything is open source on GitHub.